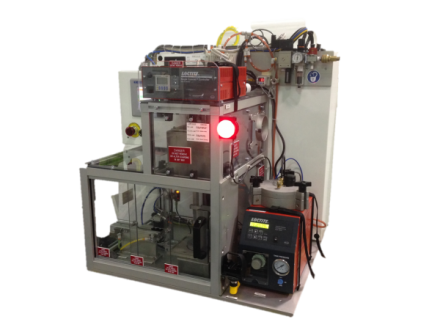
Step 1. Concept Design
The initial phase begins by communicating with our client to define the project and design specifications.
- A multidisciplinary project team including a project manager is established to develop preliminary ideas to meet client's objectives and minimize both risk and cost.
- Prototype and development testing is conducted to identify the process or product-related data needed to provide a robust engineering solution.
- Our project team works to explore the available concepts to select the best fit for the application and client's needs.
- Design is reviewed for client approval prior to beginning the detailed design phase.
Step 2. Detailed Design
In the detailed design phase, the conceptual design is converted into a full development package ready for build.
- Off the shelf, custom designed, and long lead items will be specified in a 3D CAD solid model.
- Tolerance stack-ups, sensor locations, and virtual function checks are completed.
- Control strategies, wiring schematics, and operator interfaces are designed.
- Process failure modes and effects are analyzed, and corrective measures are identified for each.
- Engineering prints are created for the mechanical and electrical components.
- Upon customer review, the prints are released from engineering to begin fabrication and assembly.
Step 3. Build & Test
The build begins as project components are machined, ordered, or modified according to the approved prints.
- All materials and equipment for the build are stored in a designated area.
- An experienced machine build leader inspects the incoming parts and checks for fit and functionality.
- Once mechanically assembled, the controls build team wires the electrical control panels, sensors, and motors.
- A white board in each area contains the build's scope, schedule, and details to keep project on-time and on-budget.
- Mechanical and electrical debug precedes the controls software load, and machine is officially brought to life.
- Internal testing and status information is continuously shared with the client through the Factory Acceptance Test (FAT) completion.
Step 4. Delivery & Installation
After testing all aspects of the machine to project specifications, safety regulations, and legal standards, the final product is delivered to the client.
- The machine is crated and shipped to your location where the lead builder will support any necessary installation requirements as needed.
- The Site Acceptance Test (SAT) is conducted for final confirmation the machine is working to its design intent.
- Technical documentation is delivered along with the machine to further support and train production or maintenance personnel.
